The Windsor saga comes to an end!!!
Many of you are probably wondering what happened to my Windsor. I had put up two posts detailing the sanding and dying but stopped there. I managed to get one coat of varnish on the chair before I left for vacation. This past weekend I applied three more coats of General Finishes Satin Arm-R-Seal. I continued to sand with 400 grit between coats as I wanted the smoothest possible finish on the final coat.
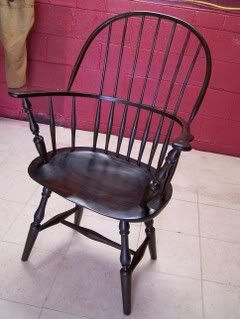
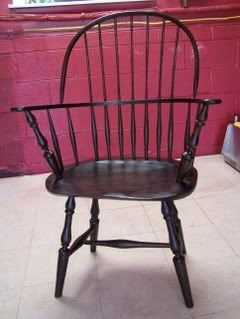
One thing that was gratifying was seeing how the wood soaked up the varnish and began to take on a nice warm glow. I wiped on the entire finish using a cotton rag. On the first coat I did get quite a bit of lint showing up, but I reused the same rag on the successive coats and had no problems from there on.
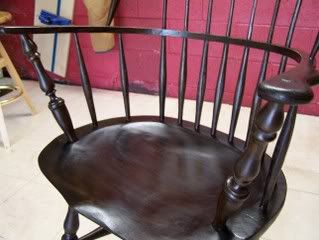
You can see that the seat really took on a nice glow and there is definite evidence of it being a hand rubbed finish. I particularly like this look since all the of spindles and bent pieces have the slightly faceted feel of a spokeshave as compared to the perfectly round spindles on a lathe, giving an overall “handmade the old fashioned way” character.
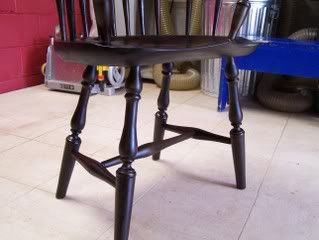
I am also quite pleased with how the maple legs came out. This being such a tight grain I wasn’t sure how they would blend after all the coats but they have that same glow throughout.
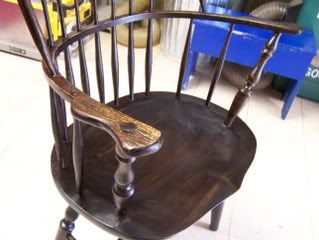
Finally, I did some extra sanding on the arms to give a bit more of a weathered feel to it and to expose some more of the wedged through tenon.
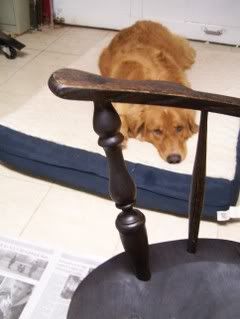
This was definitely a labor of love and I wanted to make sure it came out just right. Sanding was extremely laborious and I want to thank Alex for his moral support and company while I sweat through it.


