Hand Tool Woodworking Without a Workbench
 One of my more popular videos is titled “No Workbench Needed” where I discuss some solutions for working without a bench. Almost as popular is my “Mobile Workbench” video where I take a tour of my toolbox with a beefy workbench top and bench hooks. Obviously this is a topic that resonates with woodworkers out there.
Of course the great irony to those videos is that I shot both of them atop my massive Roubo workbench.
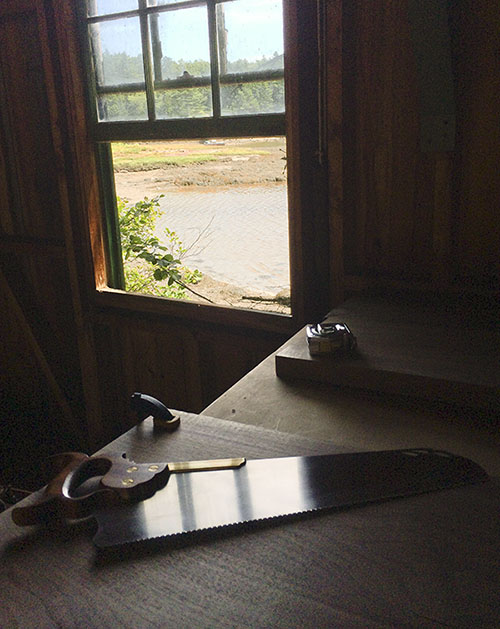
Its real easy to talk about how a bench with fancy vises isn’t needed when one already has one. Last week I put my money where my mouth is and was faced building a dining table with nothing but a sawhorse and a rickety, screwed together 15×24 table. This was in the garage of my in-law’s house up on the coast of Maine. It was wonderful to work in such a large space with a beautiful view out over the water but the actual work space was nonexistent. It was just a big empty space! When I arrived the bulk of my rough milling was done but I still had quite a bit of work to do and had to get creative. The result was a strong affirmation that where there is a will there is a way…and that saw horses will never go out of style.
A little foreshadowing here as my Walnut table top would soon become my workbench.
Jointing
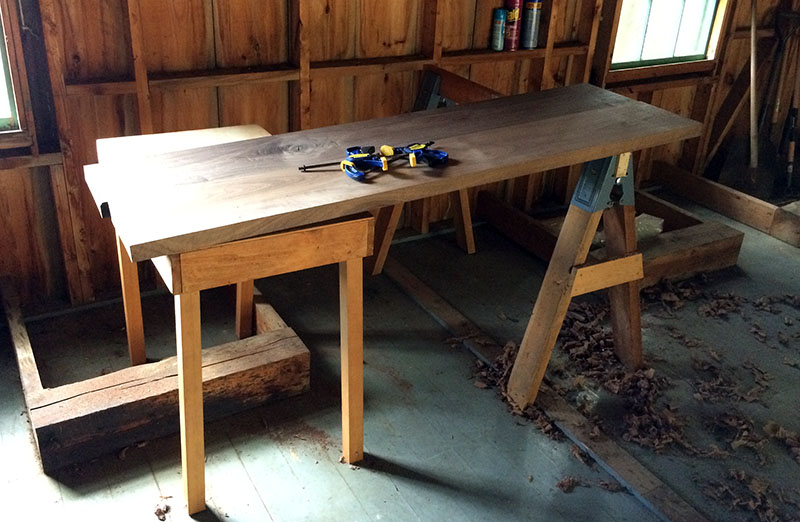
 I had already glued up 2 20″ panels for the table top and planed them when I arrived in Maine. I still needed to joint and square the edges of these panels and glue them into a single piece top. Each panel is 2x20x75 and quite heavy so how am I supposed to secure them so I can use my jointer plane on the edge? At home I would clamp them up in the leg vise and be off to the races. Here I didn’t have a powerful vise that could take the weight of the panel as well as immobilize it. The saw horse already had a ledge I could rest the panel on that was about the right height and that would take the weight. So I sawed some pieces from the top cross bar of the saw horse to bring that flush with the body. Now my panels could rest on the ledge and be clamped to the saw horse legs and registered firmly. I took those scraps cut off from the saw horse and screwed them to the legs of the table at the same height of the cross piece on the saw horse. Now I secured the panel with some quick clamps and was ready to plane. It worked great but as expected the whole deal was too light and it walked around the floor with every plane stroke. No problem, I just screwed both the horse and the table to the wooden floor. If that’s not possible, consider adding weight or screwing them to a plywood sheet that you then stand on thus adding your own body weight to the mix.
What about Face Planing?
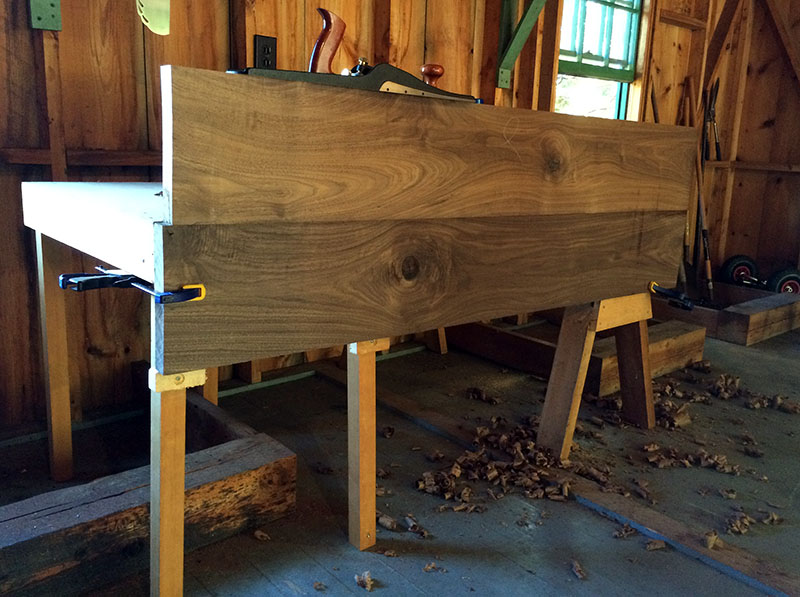
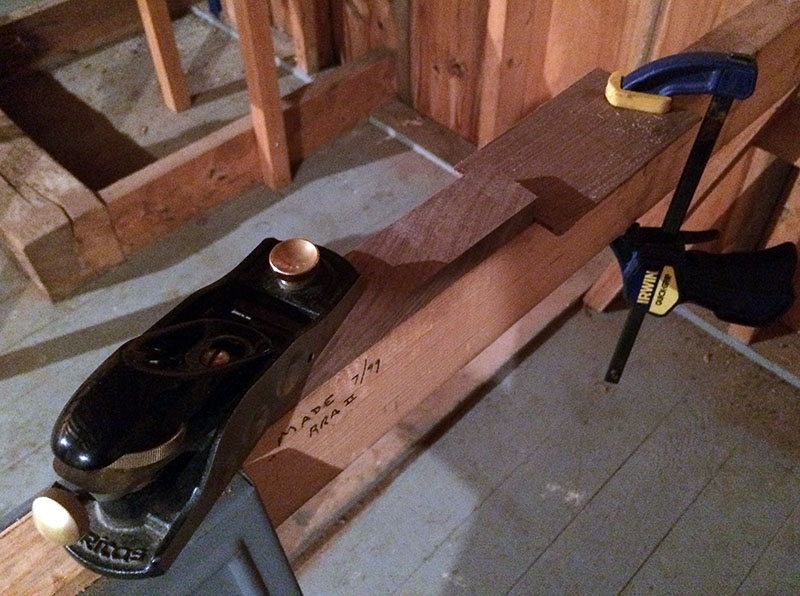 I kept thinking how lucky I was that I had done almost all of the face planing work in my shop at home as I was worried this sawhorse set up wouldn’t cut it. I was wrong. You see actually clamping the work so it won’t move isn’t necessary, you just need to restrain it opposite to the force of the plane. Once I remembered that I was able to just clamp some scraps down to act as battens. Yet another use for those tenon cheek cut offs. Here I’m planing the wedge for the tusk tenon. By working with the long axis of the saw horse I get a more stable surface too. Now for larger surfaces I was able to clamp this same batten down to the table top and then just but the panels up against it while spanning the gap between the table and the saw horse. This worked great until I realized that I had also just build a trestle based for the table and that would work even better as a “workbench”. Funny how the actual piece you are building can also be your workbench!
Joinery Work
Like with the face planing I discovered that most of my sawing and planing work for joinery could be done right on top of the table top I had just built. When cutting and planing the breadboard tenons I just clamped the entire top down on its own base and went to work. When I was working on the tusk tenon mortise in the table legs I just clamped the table top down to my saw horse and table and worked on that surface. It really just comes down to planning. Obviously I don’t want to bang up my table top surface after I have already finish planed it, but until then it made a great workbench.
This is just the beginning, throughout the week I continually solved work holding problems as they arose and each time my simple sawhorse and table didn’t flinch. When all else failed, I just laid the workpiece across the horses and sat on it. Sometimes the butt clamp is the best clamp! Another thing is nothing can beat working by natural light. The 2 40 Watt bulbs in this garage basically did nothing and I had them off almost all the time.
Workbenches are awesome, but don’t ever let a lack of one prevent you from working. The same can be said for tools. I’ll talk more about that in a future post and how my little tool tote of tools solved every problem I had with a few tools left over.
Now if only my wife would have let me make room in the car for my Mobile Workbench. But then I wouldn’t have had the above learning experience
