Perch Stool Part 3: Carving the Seat
The audio is a bit low for the first 20 minutes as I review questions from last week, it gets much louder after that
Digging out a Hole for your Butt
I’ve discovered that this Perch seat is unlike the other Windsor seats I have carved in that I really don’t need a lot of extra wood around the perimeter to hold on to it since there will always be a flat around the back edge and the pommel. So I did go ahead and saw out the outer perimeter using both my turning saw and a regular hand saw to quickly cut away the excess. Because there is a lot of edge work done with the drawknife it is NOT necessary to spend a bunch of time perfectly refining the outer shape right to the line or cleaning up the grain. Save that work until the bottom chamfer is cut and you will have much less shaping to do.
 Layout is the key to making a seemingly free form task like this seat carving into a more controlled process. Boring depth holes and drawing a oval to define the bowl of the seat will help immensely. And keep feeling the seat and removing any bumps or inconsistencies that you feel as you blend the shape from the bowl into the leg hollows. As I say in the video, when done the hollows should feel as it they were scooped out in a single pass.
The carving of this seat perfectly illustrates the concept of “coarse, medium, and fine” where rougher tools do most of the work and more refined tools come back to blend and refine the shapes. In this video I only use the coarse and medium tools and in a future installment I will come back with a card scraper to blend and smooth all the shapes. That is my fine tool. Below you will find all the tools I used as well as some alternative tools that can work. Much of the dedicated Windsor chair tools can be very specialized and if you don’t intend to build further Windsors you may want to consider using alternate methods so you don’t have superfluous tools floating around your shop.
Tools Used in Seat Carving
- Inshave: this is your rough removal tool, easy to hog out material and easily skewed to control tearing as your work across the grain with it. Available through Barr Tools
- Alternative: a bowl adze or even a large carving gouge (40mm #8 sweep)
- Travisher: your medium tool used for refining the bowl shape and blending the shapes through the seat. Much like a spokeshave but better the larger size makes it better at shaping larger surfaces. Available through Peter Galbert and Claire Minihan, Elia Bizzarri also makes a nice Travisher
- Drawknife: your coarse (and medium and fine tool depending on your skill) for shaping the convex surfaces of the seat. Available everywhere from vintage to newly made, so abundant on the antique market you will trip over them. Lie Nielsen also makes a good knife though I have not used it personally.
- Spokeshave: your medium tool for refining the convex surfaces on the outside of the seat. Available everywhere much like drawknives. I use several vintage shaves and newly made ones. My Boggs shave from Lie Nielsen leaves a super fine surface but I’m also very partial to the shaves made by Caleb James.
Next Live Broadcast
2 PM on Saturday 11/18/17
Sorry, no live broadcast this Saturday, have to skip a week. But don’t worry I’ll release a video on sizing and turning the stretchers in case anyone has questions on that bit. On the next Live broadcast I’ll add stretchers and assemble the stool to finish it off.
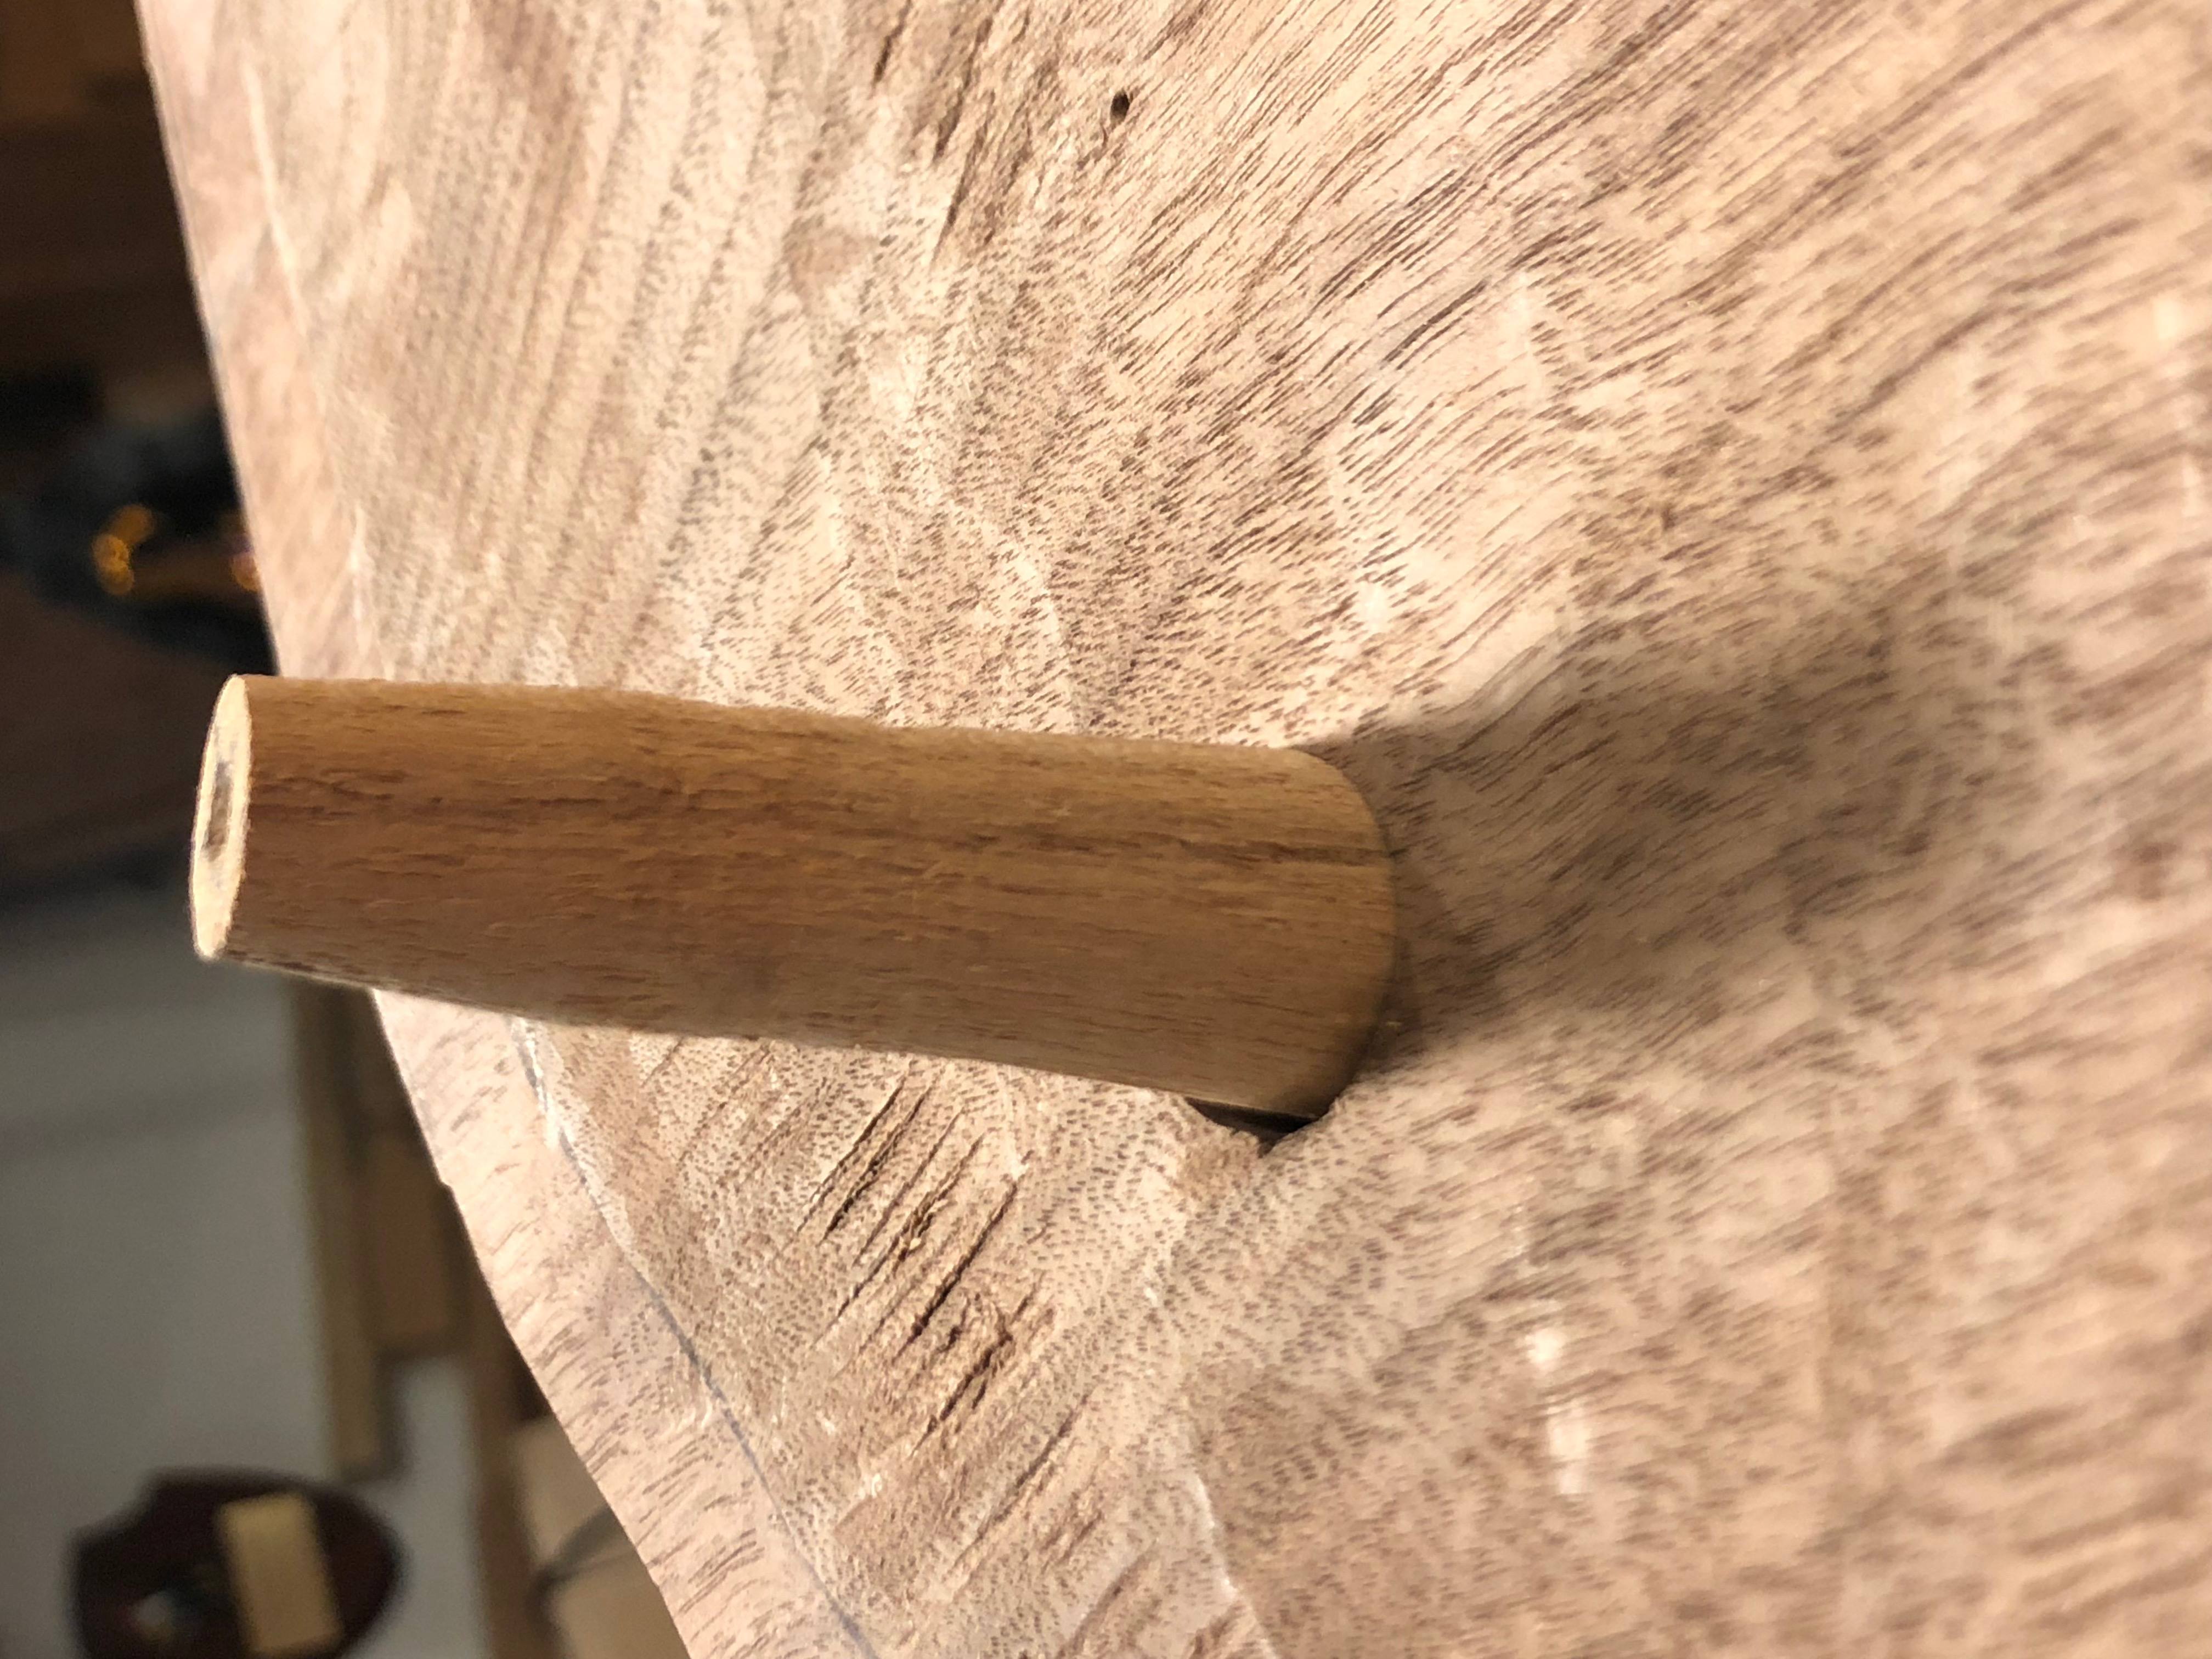
Tapered Tenon Discrepancy
At the outset of this broadcast I talked about how the Veritas tenon cutters supposedly are designed to match the 12.8 degree angle of the Veritas reamer. Obviously that won’t match the 6 degree taper of the reamer I used yet I was still getting tightly fit legs and couldn’t see much different in the tenons I had cut vs my reamer. But if you look closely at this image you will in fact see and angle difference at the top of the tenon where the Veritas cutter formed a steeper angle as compared to the 6 degree cutter I used. Veritas states the overall taper, not the taper from the centerline, so it is actually very close to the same angle. Mine is 6 and the Veritas is 6.4. So the moral of the story is to be sure that your reamer and tenon cutters match each other, or just turn your tenons on the lathe. Still I am surprised at how well my legs fit despite that difference in angles so it is obvious there is a bit of wiggle room.
Tapered Tenons???