Roubo Top Status…
I have started glueing up the laminations for the Roubo top and it has punctuated a few principles of wood movement that I wanted to share.
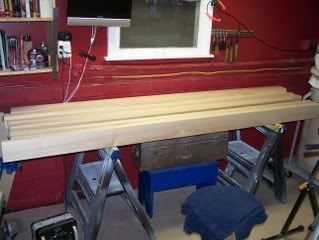
I purposely bought wider stock knowing that it would allow me to choose the straightest grain from the rift sawn sections of the tree. This meant that I needed to rip these 8-10 foot long boards along their lenght to ~4″ width stock. Unfortunately taking a 10 foot, 9-11″ wide board and ripping it down the middle will release a lot of tension in the wood and cause some extensive bowing along the edge. This meant that I had to rip these boards quite a bit wider than the required 4 inches to allow for significant jointing of the ends in order to get a flat edge. In some instances the bow was so intense that I hade to strike a line with a chalk line and cut the end with a saw. In these instances I had anywhere from a .5 to 2″ deflection from the middle of the board to the center. Secondly, with all that movement initially upon cutting and then flattening, I was bound to get even a little more movement as the wide board dried slightly more after having it’s interior exposed.
The upshot to all this is that I ended up ripping these boards as wide as I could, flattening them and letting them sit before one more jointing session. Even then I still left the boards wide with the average width falling around 5″ wide. Once turned on end, laminated togther in 6″ sections I could joint again and plane to final thickness of 4″. These glued sections will be a lot more stable and I shouldn’t have to worry about much movement.
Before laminating the individual piece, though I stacked the odds in my favor and made several passes with my Jack plane down the center of each wide face. Even though I wasn’t getting any cupping across the face since the initial jointing I wanted to create a very slight concavity to each board so that the edges would mate cleanly and not require immense clamping pressure to tighten the gap.

With 2-3 complete end to end passes I was able to create a .002 -.004″ deep valley that essentially cleared any obstructions out of the way of a smoothly mating face. Despite this “planing the odds in your favor” measure, make sure you have some good clamps and a lot of them. I basically cleared my clamp rack and a drawer full of every clamp in the shop for each 6″ lamination. I did my best to keep the boards as flat as possible but didn’t worry too much because I have at least an extra inch in width to play with before reaching my finished top thickness of 4″. This will allow me to not worry about slippage during the glue up and I can clean them up later.

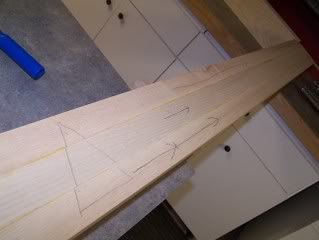
One thing to note before gluing these laminations is to pay particular attention to the grain direction. Note the arrows and cabinet maker’s triangle I use to keep these board in the right orientation. Nothing would be worse than discovering one of your boards has it’s grain running in the opposite direction once you start to level the top.
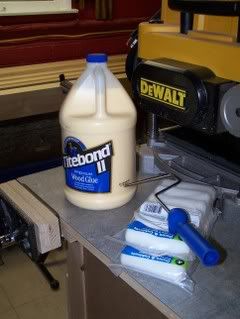
Make sure you have lots of glue on hand and a paint roller to apply the glue. There is a lot of surface to cover and not much working time so it is best to spread it as quickly and thoroughly as you can.