Crafty Type Projects Make Me Miss Power
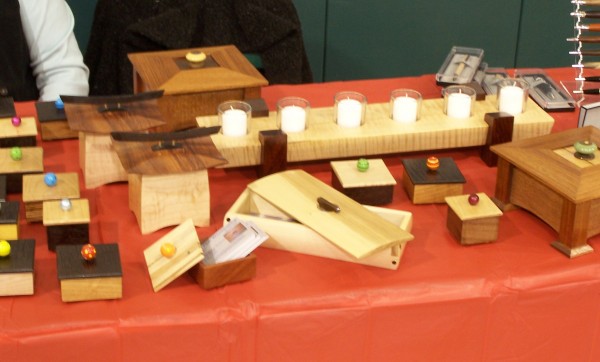
My table at craft show I did in 2006
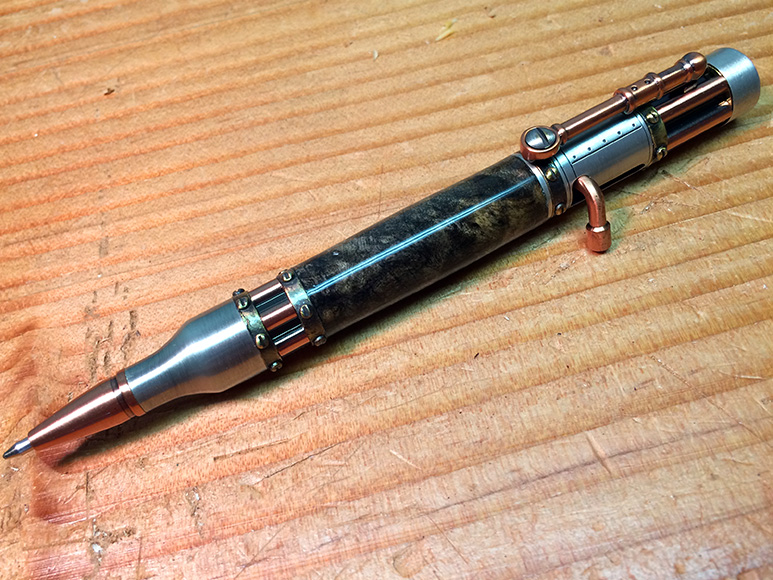 Don’t get me wrong, the passion is still as strong and diverse as ever, but really it is focused on furniture projects these days. It really has nothing to do with hand or power tools as I think any project is obtainable with either method. This Christmas I knew I was destined to revisit some of those projects from 10 years ago for gifts. A lot of lathe work, so boxes and 2 cutting boards. Lathe stuff is individual enough that I can have a lot of fun with it. Plus an opportunity to field test my Barnes lathe with some modern attachments like mandrels and figuring out how I would drill and prepare pen blanks without power. For the record post drills rock but a Jacobs chuck in the lathe is a pretty good substitute too.
The boxes were pretty routine since I built each one as its own projects and they are small enough that I was able to flatten a single board then start cutting out pieces for the boxes like you would break down a sheet of plywood into components. A shooting board and a bench hook made quick work of all the parts sizing and mitered corners. I cut rabbets while each box size was one piece just like I would have done with a table saw or router table. No big issues there.
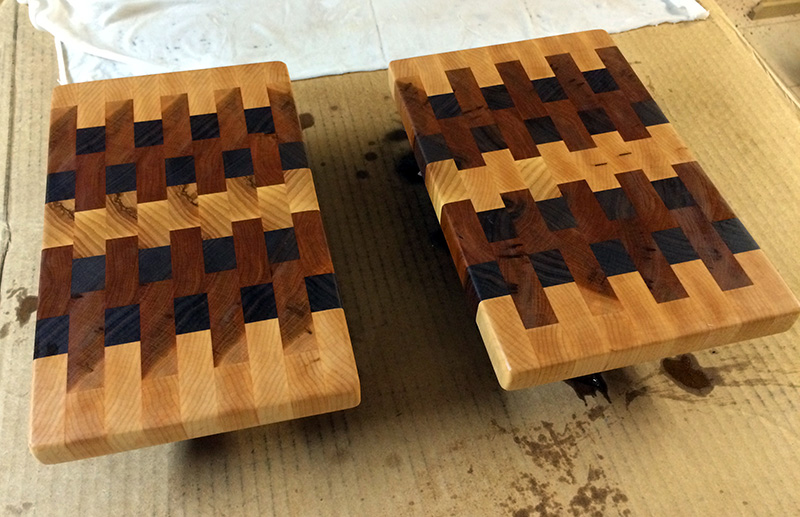
Then came the cutting boards…
 These are just not made for hand tools. Sure its possible as is evidenced by the two I just made. But I got to be honest, it was TOUGH! Recently Tom Fidgen wrote a great post about challenging yourself. I’m all for it, but never did I think a simple cutting board would be that challenge.
waves hand Jedi style
This is not the challenge you’re looking for…
It is not that there is anything particularly complicated about a geometric cutting board like these. It is the sheer repetition and need for absolute consistency from part to part.
When I’m building furniture by hand, I focus on a reference face and edge and don’t worry much about the others. I clean them up so they look good under finish and that’s all. I don’t worry that my panels are consistent thickness from edge to edge because it just doesn’t matter.
I rarely mess with end grain and lay in tenon shoulders first leaving the ends fresh from the saw to be hidden inside mortises. A quick pass at the shooting board will clean up a dovetailed end but I definitely don’t focus on getting it finish ready since I do some planing after the joint is glued up.
 When it comes to sizing parts, I get one right then lay in knife lines on the other by tracing the first part. Or I just don’t worry about it and do it by eye recognizing that on a table it is hard to judge the width of an apron when broken by a table leg and the average human can only see two aprons at once.
So when I’m faced with a panel that needs to have boards jointed flat with consistent, parallel edges to a pretty exact width that can be a great challenge. For a cutting board I needed that panel to have 8 boards glued together with the same accuracy and consistency along the entire length.
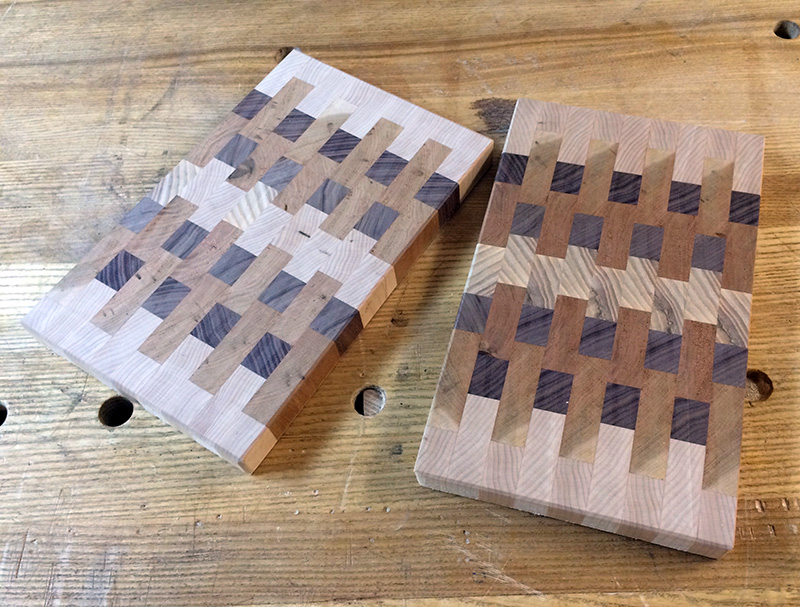
Then I had to make many crosscuts to break up the “loaf board” into its parts. At first I thought this would be easy since each part is turned 90 degrees to present the end grain face up and any variation in cut would be planed out after the glue up. Then I started to think about what fun it would be to level a horribly inconsistent end grain surface and realized I had better step up my game and make some clean and accurate cuts.
Then I started flipping boards to make the geometric pattern and realized that any variation in the thicknesses of the boards telegraphed its way into the pattern. When you need the corners to line up in the pattern like a checkerboard any tiny error is compounded as you move across the board. Suddenly my “flat” panels show inconsistencies in thickness that was throwing off my pattern. I then found myself using a gauge to mark the thickness of each strip and planing quite a few of them to exact thickness. Thank goodness everything was a bit fat instead of thin!
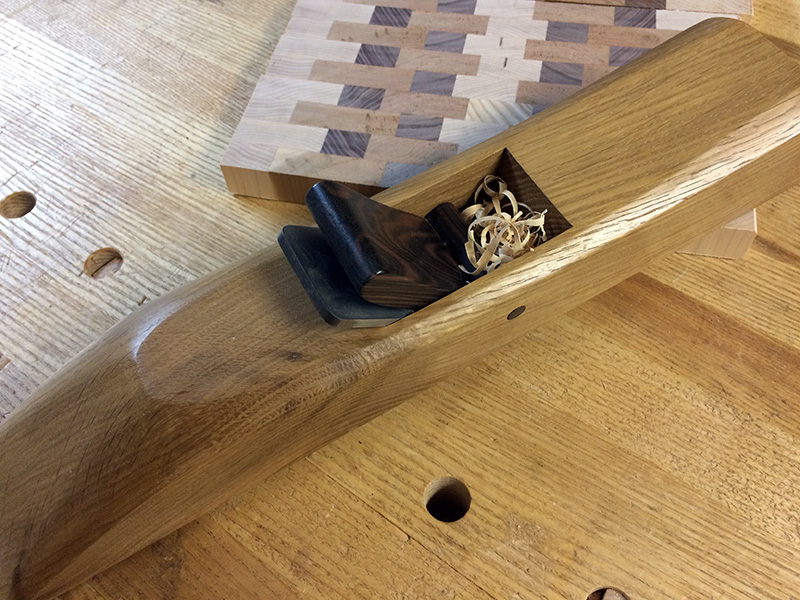
 Finally on to the glue up which is tedious no matter what you do. It was the next step that I knew I would dread going into this project. Planing the board flat and parallel when the entire face is end grain and a mixture of species. To add insult to injury I used up my last scraps of Lyptus, an accursed hybrid species that shall never be uttered on this site again, and used up the last few scraps of Ash from my Roubo build. I admit that was a touching moment…til I had to plane it.
I have never stopped to sharpen my Jack plane so many times in flattening one panel! When I finally had it done what was my reward? Doing it all over again on the second cutting board!
I have to admit I really enjoyed the rounding of all the edges though. I guess if you can find one bright spot in a project that is killing you, you can call it a win.
Yep it was a challenge and I’m proud to say I met it. But I’m smart enough to say that should I need to do it again, I’m going to a friend’s house to use his table saw and drum sander!
Whew its over and the cutting boards came out very nice. Now about that reindeer idea…
Your Turn
What projects have you attempted by hand only to give up and flip on a power switch somewhere during the build Did you learn anything along the way and what would you do differently next time?
