Designing a Footstool for Adirondacks…
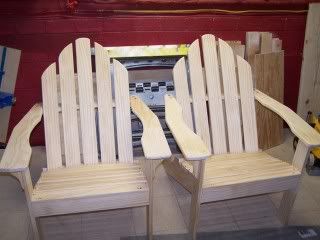
I have built more of the Norm Abrams Adirondack chair than I can even count. I just completed a set that a co-worker commissioned today. (Matt that’s right these are your chairs)
So far the most popular finish has been paint. Very bright colors seems to be what my customers like. I have made them from Cypress before, but the classic look is white paint or bright red, blue, or green. These chairs will be painted white so I made them from some high quality pine.
The chairs are not what this post is about though as you may have guessed by the title. The Adirondack style is very deep and for those with short legs they can be uncomfortable when your legs don’t touch the ground. I have seen many different styles of footstools, but I wanted something that provides complete support and cradles the legs. Ironically I found inspiration in a cheap plastic model that you can find in any big box store. Moreover, I wanted the design to mirror the chairs that I have built and appear to be part of a set.
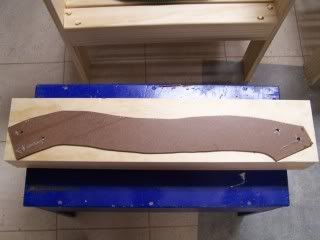
Sounds simple right? Yes and no. Here you can see the rough pattern for the profile that I made out of hardboard.
My slats are 2.5″ wide and I want the side profile such that the slats will sit flush throughout the curve. Here you can see the pattern needs some tweaking.
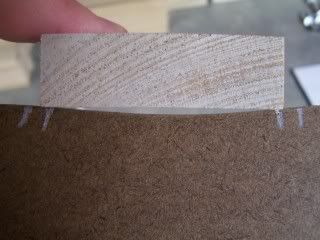
Now I have used my spindle sander to even out the curve so that the slat fits nicely. I marked out the spacing with 1/4″ gap between each slat and verified that the curve would allow the slats to seat flush.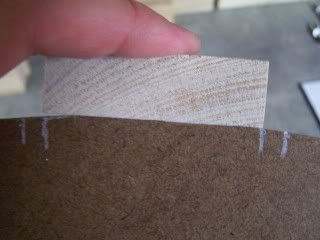
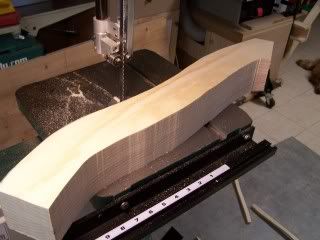
Next I ganged all the side pieces together with double stick tape and cut out the rough shape on the bandsaw.
Next over to the spindle sander to refine the curves.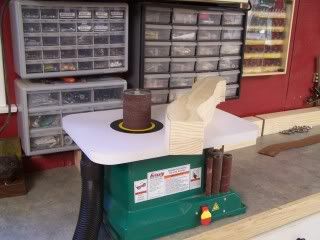
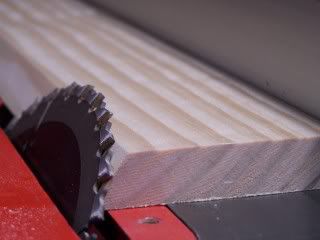 Now I have to cut a bevel on the front crosspiece that will mirror the slope of the side piece. I used my bevel gauge to capture the angle between the vertical leg and slope of the side piece.
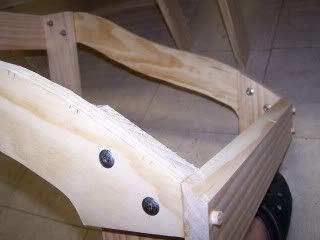
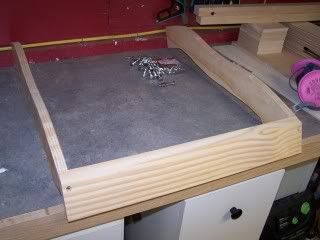 Here is the base assembly screwed together and glued. These screw holes will be plugged later.
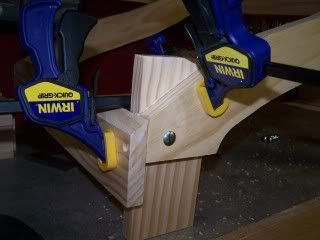 The front and back legs are attached using 1/4″ stainless steel carriage bolts and glue.
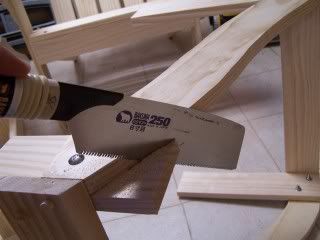
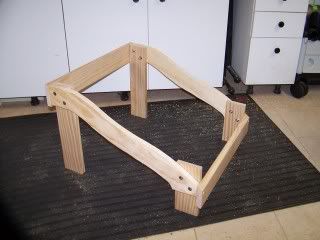 Here you see the complete skeleton assembled. Now to deal with the overhanging leg pieces. Using a japanese flush trim saw, I cut the tops of the back and front legs off flush with the curve of the side piece.
Now to install the slats. As stated earlier, I designed the stool with 1/4″ gaps between each slat. This way there will be a 1/8″ overhang on both the back and front of the assembly.
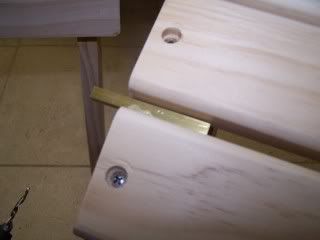 I have a set of brass set up bars that are perfect for this job. In fact, I use these little bars almost constantly for router and table saw set ups. The can be purchased at just about any woodworking retailer or mail order company. I have had mine so long I cannot remember where I got them but I highly recommend them to anyone.
****Edited note from 7/11/08*****
Check out one of the recent feature Fridays on Matt’s Basement Workshop for more info on these great set up bars.
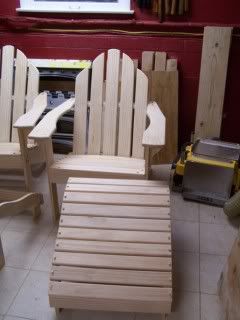
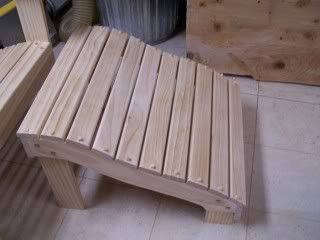 Here is the complete build with all the holes plugged. Below you can see the similarity in the design between the stool and the chair. I want the two to match so that it looks like a complete set.
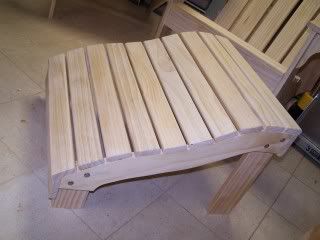 Plugs trimmed and a final sanding. My Festool RO 150 is probably my favorite tool for just this type of application. In rotary mode it decimated the plugs, then a quick flip to orbital mode and it brings up a smooth finish ready for paint.
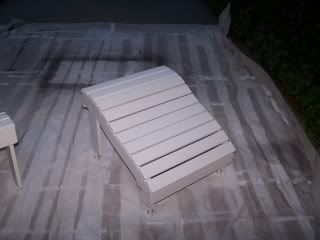
By this time it was getting dark, but I had enough time to spray on two coats of a high quality outdoor paint and primer. Tomorrow morning I will put on a top coat of water based polyurethane for added protection.
The true test however is their comfort. My wife tested it and I tested it. I am 6’4″ and my wife 5’0″ and we both found the contours to be pleasing. That’s all I can ask for. Now I just have to get up!


